This feature lets you insert the contents of a file directly into the body of an email message. If you often use a specific template for your emails, or if you like to send emails that were built with HTML, then this function is really helpful. But if you have upgraded to a newer version of Microsoft Outlook, such as Outlook for Office 365 of Outlook 2016, then you may have noticed that inserting as text is no longer an option. Fortunately you can still use “Insert as Text” in these newer versions of Microsoft Outlook, but you need to do something else first. Outlook has a lot of other ways to edit your emails. Our steps on how to strikethrough in Outlook can show you how to get the cross-out effect on some of your text.
How to Add the “Insert as Text” Feature in Microsoft Outlook for Office 365
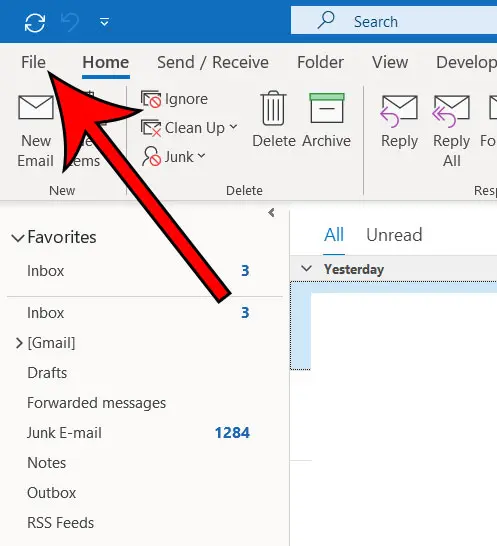
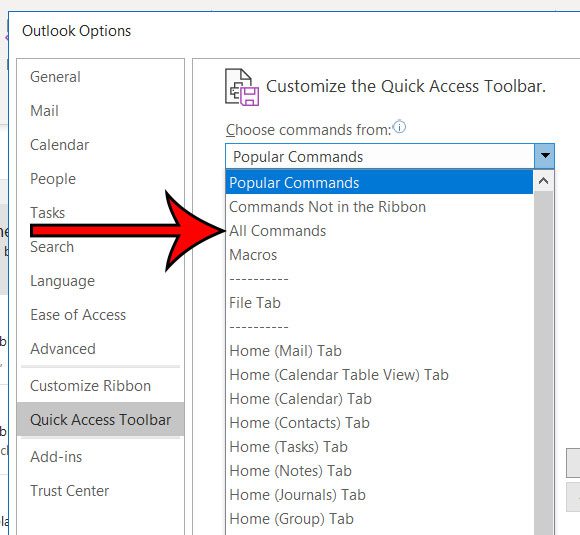
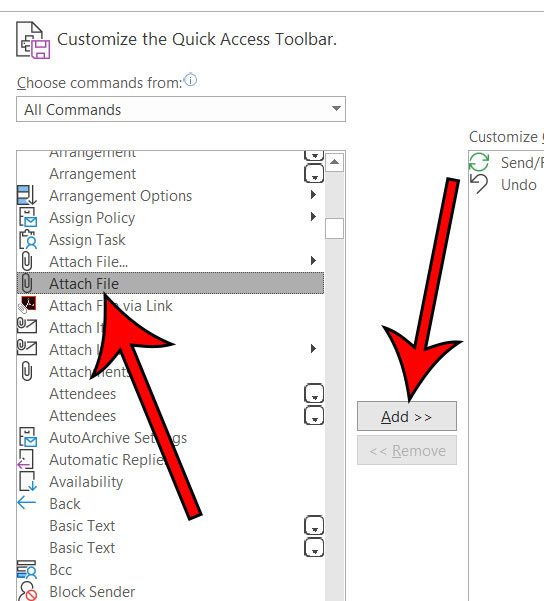
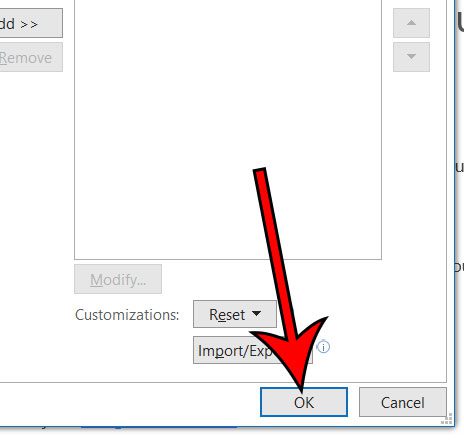
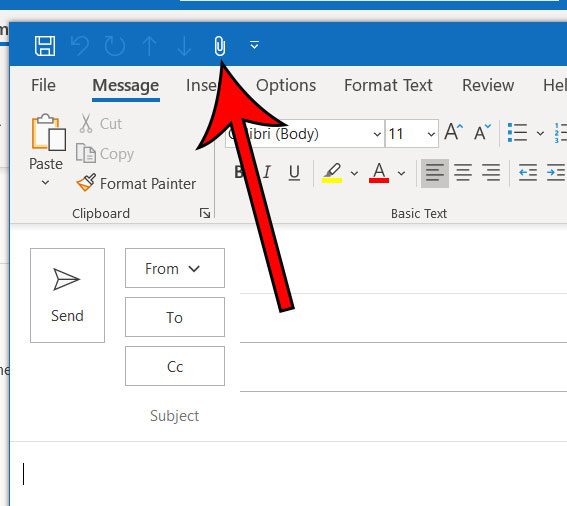
The steps in this article were performed in the Outlook for Office 365 version of the application, but will also work in newer versions of Outlook, such as Outlook 2016 or Outlook 2019. Step 1: Open Outlook. Step 2: Select the File tab at the top-left of the window. Step 3: Click Options at the bottom of the left column. Step 4: Choose the Quick Access Toolbar tab. Step 5: Click the Choose commands from dropdown menu, then select the All Commands option. Step 6: Scroll down and select the Attach File option, then click the Add button. There are two “Attach File” options in this list, so be sure to select the one without periods after it. Step 7: Click OK to apply the change. Now when you are writing an email you can click in the body of the email, then click the paper clip icon in the Quick Access toolbar at the top of the window. You will then be able to browse to the file that you want to insert as text, select the file, then click the arrow to the right of the Insert button and choose the Insert as Text option. If you don’t see the paper clip icon then you may need to click the line with the arrow under it to choose the Attach File option the first time. The paper clip icon will appear in the toolbar after that. Note that completing the steps above to add the Attach File button to the Quick Access Toolbar is something that you will only need to do once. That icon will remain at the top of the window when you are composing emails so that you can do this more quickly for future emails.
See also
How to disable work offline in OutlookHow to strikethrough in OutlookHow to create a Vcard in OutlookHow to view the blocked sender list in OutlookHow to set up Gmail in Outlook
After receiving his Bachelor’s and Master’s degrees in Computer Science he spent several years working in IT management for small businesses. However, he now works full time writing content online and creating websites. His main writing topics include iPhones, Microsoft Office, Google Apps, Android, and Photoshop, but he has also written about many other tech topics as well. Read his full bio here.
You may opt out at any time. Read our Privacy Policy