But you may find that you actually won’t be able to install the scheduled update, and that you need to cancel it. Our guide below will show you how to cancel a scheduled auto-install of iOS on your iPhone.
Disable an Auto Install on an iPhone
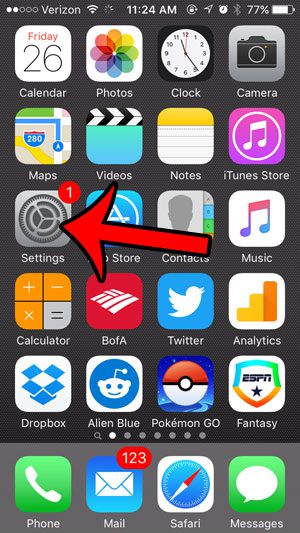
The steps in this article were performed on an iPhone 5, in iOS 9.3. These steps are going to cancel an automatic iOS update that you had previously scheduled. if you do this, you will need to go back to the update menu later to install that update. Step 1: Tap the Settings icon.
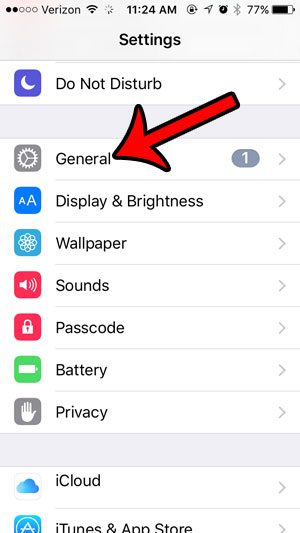
Step 2: Scroll down and select the General option.
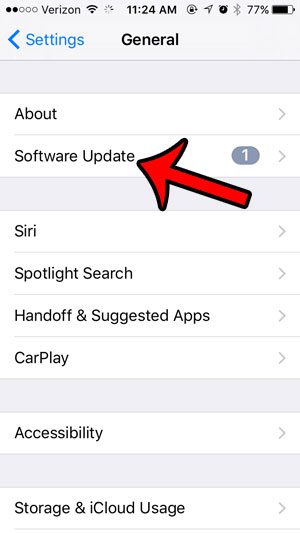
Step 3: Select the Software Update option near the top of the screen.
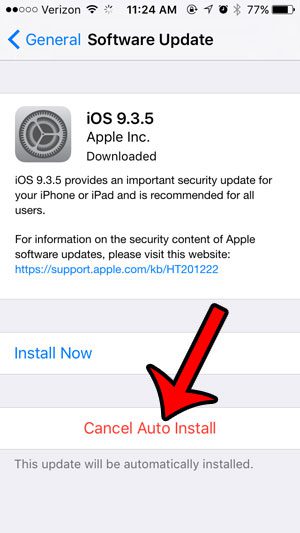
Step 4: Tap the Cancel Auto Install button at the bottom of the menu.
Step 5: Tap the Cancel Auto Install button again to confirm that you wish to cancel the installation of the iOS update.
If you decide later that you do want to install the update, you can do so from this same menu. If you can’t install an iOS update because you do not have enough available space on your device, then you will need to delete some files. Our complete guide to deleting items on an iPhone can show you a few of the common places to check in order to regain enough space for whatever you need. After receiving his Bachelor’s and Master’s degrees in Computer Science he spent several years working in IT management for small businesses. However, he now works full time writing content online and creating websites. His main writing topics include iPhones, Microsoft Office, Google Apps, Android, and Photoshop, but he has also written about many other tech topics as well. Read his full bio here.
You may opt out at any time. Read our Privacy Policy