Fortunately you aren’t restricted to just seeing the weather in your current location, and you can elect to add other cities as well. Our tutorial below will show you how to add another city to the iPhone Weather app so that you can bring up that information in the app that you already use to monitor your current local weather conditions.
How to Add Another City in the Weather App on the iPhone
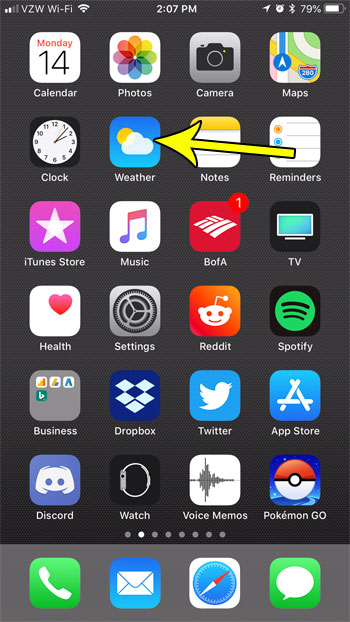
The steps in this article were performed on an iPhone 7, in iOS 11.3. This is going to add another city to the weather app, which you can access by swiping left or right on screen when the Weather app is open. Step 1: Open the Weather app.
Step 2: Tap the menu icon at the bottom-right corner of the screen. It’s the button with three horizontal lines.
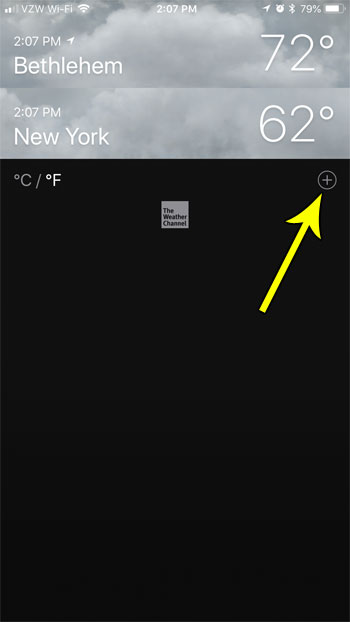
Step 3: Touch the + icon at the right, under the last listed city.
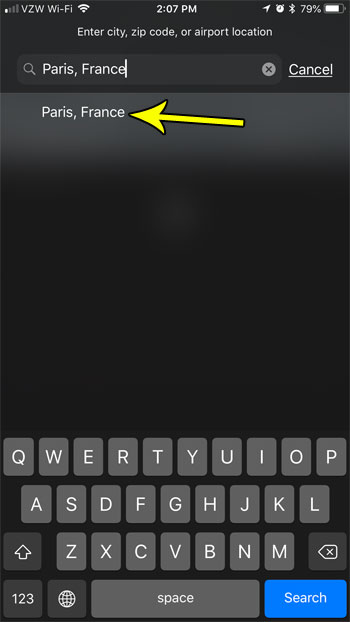
Step 4: Type the name of the city, its zip code, or its airport code, then select the desired result from the list of search results.
You can then choose that city from the list of cities in the app.
Note that one of the options in the Weather app uses your current geographic location, so that will update automatically if you are traveling. If you have added a city and it’s either incorrect, or you no longer wish to view the weather for that location, then find out how to remove a city from the iPhone Weather app. You will not, however, be able to remove the city option that is being determined by your current location. He specializes in writing content about iPhones, Android devices, Microsoft Office, and many other popular applications and devices. Read his full bio here.


